Adobe Animate CC 2019 v19.2.1
Animate CC 2019 (was Flash CC) lets you share work directly from within the application and get access to new features the moment they're released. Your entire creative world, together in one place. Work faster than ever before with a 64-bit architecture, a new streamlined user interface, and more connected tools. Create HTML content and export high-definition video and audio.
Animate CC 2018 is part of Creative Cloud. That means you have access to all the latest updates and future releases the moment they're available. You can use Save to Cloud to keep your files organized across multiple computers. And Creative Cloud is integrated with Behance, so you can share your projects and get immediate feedback from creatives around the world.
What's New:
Version 19.0:Auto Lip-Sync: Powered by Adobe Sensei:
- As a character animator using Animate CC, creating lip syncing was always a time consuming effort. Now, you can match mouth poses to sound inflections automatically with Adobe Sensei powered Animate
- Auto lip-syncing allows easier and faster method of placing appropriate mouth shapes on Timeline, based on the chosen audio layer. You can achieve this using an existing list of mouth poses, drawn within a graphic symbol and label them with corresponding visemes. When you apply auto lip-syncing on a graphic symbol, keyframes are created automatically at different positions matching with the audio visemes, after analyzing the specified audio layer. You can make any further adjustments if you want, by using regular workflows and Frame Picker
- As a 2D game developer, educationist, or web developer, you can use 2D skill set in Animate and export panorama or 360 virtual reality animations. You can use these virtual reality animations as Facebook feed, use in Microsoft Office products or in any website
- When you want to import panorama or 360 vector graphics, animate content, and introduce interactivity at runtime, you require specific document types. Animate now introduces VR 360 and VR panorama document types which enable you to create such engaging content with ease. Also, you can use the virtual reality document type to import 3D model content (.glb files) to an Animate project and interact with VR output
- You can click and move MovieClip instances in the Preview panel. Animate detects the objects automatically when you click and move them around. They move along a cylinder or a sphere path depending on the selected document type
- Animate also lets you manage the virtual reality animations at runtime by using APIs. For example, you can introduce some objects in a 360 virtual reality environment when a user clicks a button
- You can now easily deform complex vector shapes and raster shape using asset warp tool. Create animations without having to redraw assets on each frame
- Using the warp handles that appear on the objects, you can reshape or distort specific object areas while leaving other areas intact. Users can select multiple objects using selection tool and then select asset warp tool to create warp handles on them. All the selected objects are grouped when you create the first warp handle. This asset warp tool enables you to create frame-by-frame animation and tween animations on complex shapes or bitmap images
- As an animator, now you can continue to author content in vector format and export as vector or raster format for HTML 5 platforms
- Click File > Publish Settings. If Publish entire animation as a texture is enabled in Basictab, Image Settings tab shows Texture Publishing options. By default, all the symbols are included in Texture publishing. To selectively choose symbols for textures, click Change
- Animate allows you to parent one layer to another. Layer parenting is an easy way to allow one layer/object of your animation to control over the other layer/object. As an animation designer or a game designer, you can speed up your animation time as you can control movements of different parts of a character more easily
- Now, you can animate between poses easily by organizing assets in parent-child layers. When an object on the parent layer moves, the child layer automatically moves along with it
- Add tints and filters to layers, play with in and out fades, depth of field, and so on. You can make all these changes without changing objects on stage
- You can use frame level filters to apply them for all the objects at a time in a frame. Apply filters directly on the timeline (frames) without having to place the assets or animation inside a Movie clip. Filters can be applied over all types of assets including graphic symbols and shapes, providing more flexibility
- As an animator, now you can export new glTF standard based animations that can run on Facebook feed and Microsoft Office suite. New WebGL-glTF standard and WebGL-glTF Extended document types have been added to the existing list of document types in Animate
- You can use standard template which allows integration with standard glTF playback packages, supports basic interactivity and standards. The extended version enables you to create advanced animations
- As an Animator, you often need to create animations in Animate and import them into After Effects for post processing tasks. Now, Animate streamlines this workflow by providing a plug-in for After Effects
- You can import Animate FLA files into After Effects to composite them with a video or render them as video with more creative effects. The layer hierarchy of Animate is maintained in After Effects. After Effects can interact with Animate using the plug-in
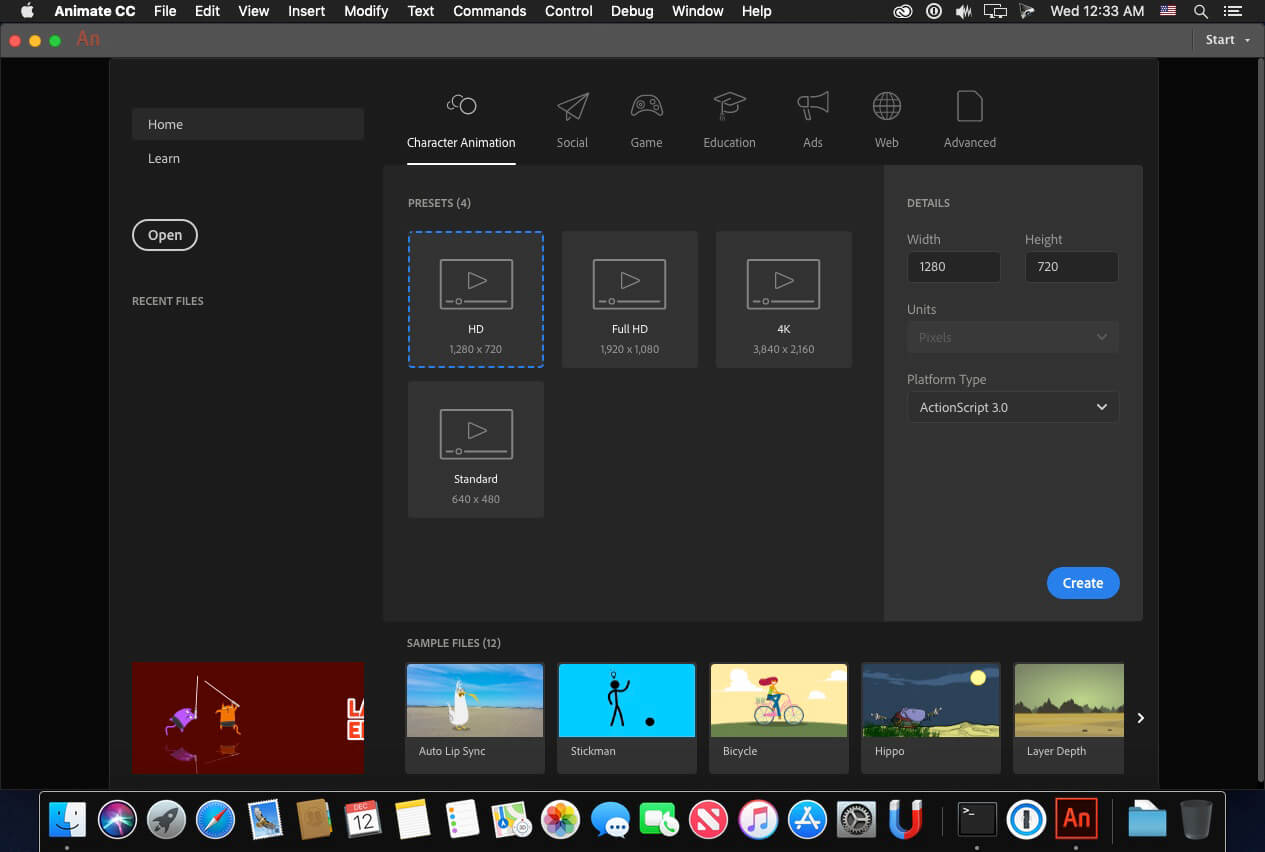
- Now, it is easier for animators to get started quickly with Animate. You can choose the destination for an animation using any of the intents, Animate provides you the preset formats. Choose an intent of from the tabs at the top of the screen such as Character Animation, Social, Game, Education, Ads, Web, and Advanced. Select the appropriate presets for each of the intents and click Create to start creating animations. You can view the recently used files in the left pane. Sample assets are provided at the bottom of the startup screen
- Click Learn from the left pane to access recommended tutorials to get started with Animate
- Windows OS: CTRL +N
- macOS: CMD + N
- Paint bucket tool You can now use Paint bucket tool to click and drag across the contours of an object to fill them with a chosen color You can click and drag the tool in any direction across the contours Paint bucket tool fills the color wherever dots are captured across the contours
- Quick tween creation You can now create tweens quickly from the stage by selecting the objects Select the objects at stage, right-click, and choose one of the tween animations to create tweens quickly If the objects selected are part of multiple layers, a one-second animation is created in all the
- Support for MS Office pen Now, Microsoft surface users can get the best performance and line quality as the pen is natively supported
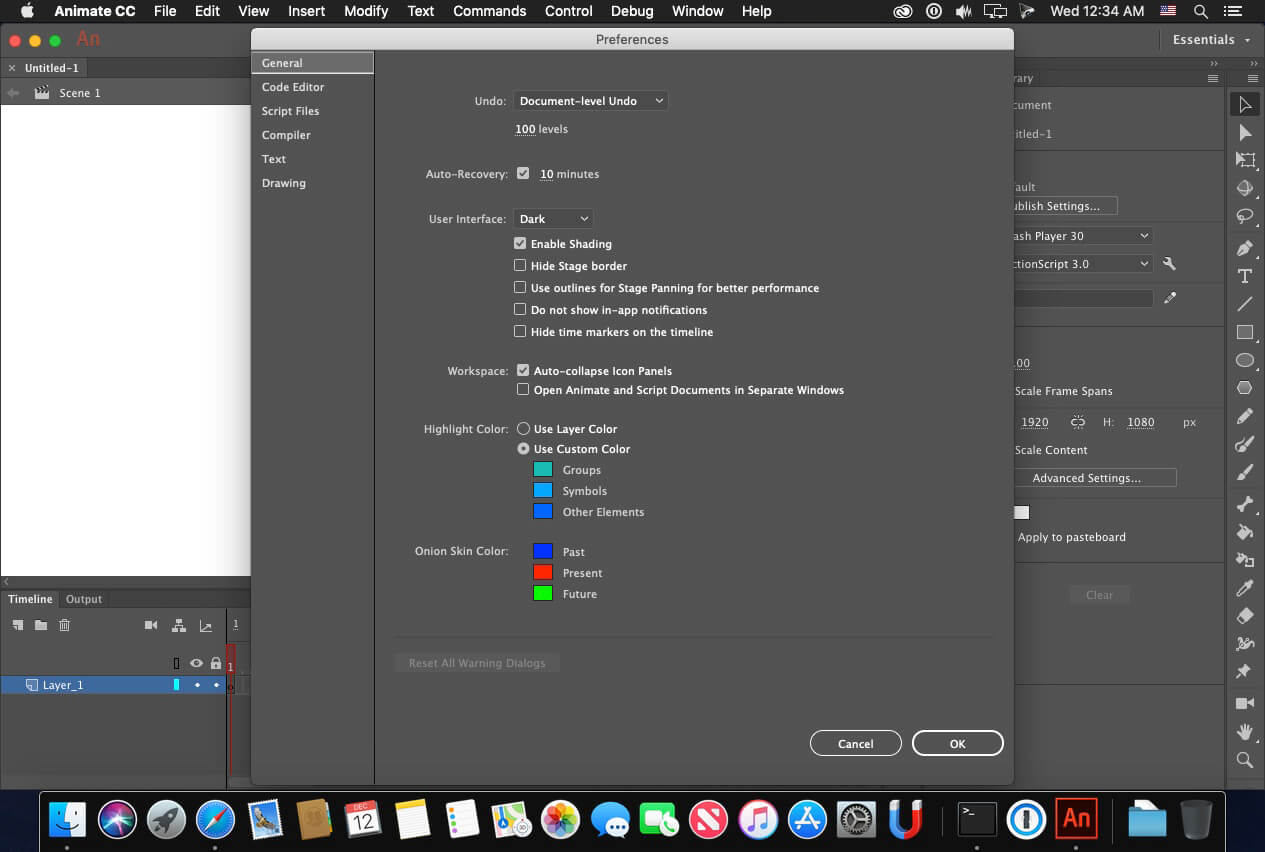
- You can now choose any of the four color themes for Animate. To change the theme, select Edit > Preferences. In General tab, click the drop-down list menu adjacent to User Interface and choose the appropriate theme
- Better looking interface Animate user interface has been updated using the Spectrum framework to make it as sharp and intuitive as with other Creative Cloud products
- Exit frame sync for graphic Symbols You can synchronize graphic symbols with parent timeline while editing the symbols When you enter and leave the graphic symbols, the graphic symbols are synchronized and the frame positions are retained
- Redesigned Timeline Timeline controls has been redesigned for ease of use Some of the controls are moved to the top of the timeline Previously, the controls were placed at the bottom of the timeline
- Brush and eraser tools enhancements Improved drawing experience with Brush for preview and final Brush strokes Pressure and Tilt options and minimum brush size options are added to Brush tool The user interface for smoothing slide is redesigned for ease of use in Eraser tool
- You can expand the swatches panel without affecting its order of colors alignment. When you drag the panel, it increases the size of the swatches as shown below in the second screenshot. If you further drag it, the swatches panel is distributed across multiple columns as shown in the third screenshot below
Screenshots:
- Title: Adobe Animate CC 2019 v19.2.1
- Developer: Adobe Systems
- Compatibility: macOS 10.12 or later, 64-bit processor
- Language: English
- Includes: K
- Size: 1.86 GB
- visit official website

Users of Guests are not allowed to comment this publication.